Does thinking of creating your own website conjure visions of tech jargon and coding mysteries? Well, fear not because the future of website building is here.
So many of you have called or emailed me asking for help getting your business, side hustle or hobby online. Let’s look at the AI website builder Hostinger so I can show you how easy it is these days. Seriously, the example site I whipped up took under 10 minutes.
FYI, Hostinger is just one option, and they didn’t pay me to write about them. Hocoos, Durable and Mixo all work similarly.
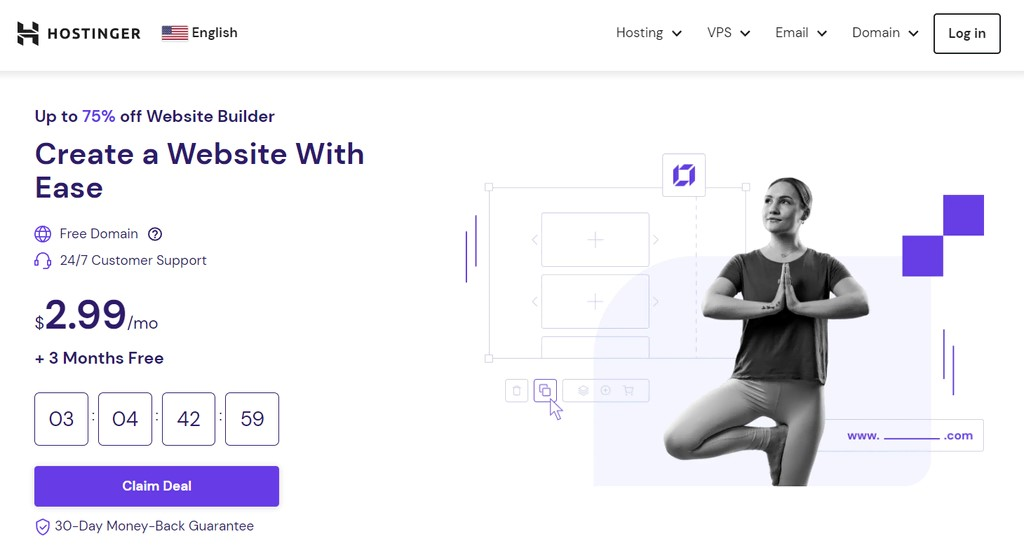
Step 1: Pick your plan
Hosts ensure the website is owned and controlled by you. With Hostinger, plans start at $2.99 a month and come with many freebies, like a custom domain. Hosting on Hoccos or Durable is free (depending on the URL), and Mixo starts at $9 a month.
Step 2: set it up
Now that you own the domain let’s set up your site.
On the Hostinger dashboard, look for the Setup option located under the Premium Web Hosting banner. You’ll find a similar option if using a different service.
You’ll be directed to a page that asks you to Create or Migrate a Website. Since you’re crafting from scratch, select Create a new website, followed by Hostinger Builder with AI as your preferred platform. Sweet.
Step 3: Pick the perfect name
A new website requires a web address, so choose a domain name. Name your website to something that is uniquely yours. Need help? Namecheckr scans the web and social media to see if the handle you want is open.
Step 4: Lay the foundation
Hostinger (or whatever service you choose) will now throw a couple of questions your way. This is AI doing the hard work for you. Decide whether you want to Start Creating or if you’d like to use pre-made templates.
Choose Start Creating, and you’ll be prompted to describe your idea, project or business. Say you run a small coffee shop. Put on your marketing hat and type up what makes you stand out and everything you hope your site will be.
In our Hostinger example, you’d click Next and select the type of website you want to build. Enter your Brand Name, toggle Create a website and prepare to be amazed by the power of AI. Within seconds, it’ll start populating your snazzy new site.
Step 5: Get all the pieces in place
Whoop whoop! Your website has a pretty solid outline, including pictures and copy. AI doesn’t always get it right, so if you’re not impressed, try these fixes:
- Templates: Maybe the text boxes and image placements aren’t doing it for you. At the bottom of the screen, you’ll find a trio of Templates that will instantly change the website’s look.
- Style: Next to the Templates option, you’ll find Style. This lets you adjust the color and font choices. You can swap in a warmer color palette or perhaps something sleek and minimalistic.
- Pages: This allows you to add additional tabs. If you initially chose a blog-style website, now you can add an online store tab.
Once you’ve fine-tuned your outline, go to the top right corner of your screen and click Continue to edit.

Step 6: Make it yours
The outline is in place; now it’s time to get down to business. No matter the service you’re using, you’ll see options to swap out the:
- Text: Not all the copy on your site will feel like you. Simply click on it and select Edit text. Adjust the information, size and font. There’s even an AI Assist feature that helps whip up fresh content or reword existing text. If you don’t like what it’s spitting out, try ChatGPT for a second opinion.
- Pictures: You were envisioning cool and modern and got farmhouse chic. Click on an image and drag it to modify its position or size. You can also select Change Image for an entirely new photo from Hostinger’s Media Library.
- Sections: Want to squeeze in an extra text box or picture between two pieces of content? You’ve got the power! In Hostinger, hover your mouse between two current sections and select the +Add Section button. You can create something entirely new or choose from premade blocks.
This is the part where you get to have fun. It’s OK to be nervous, but these AI site builders make it easy — even if you’re not very design savvy. Play around, see what looks good and you can always ask a friend for a second opinion.
Step 7: Cross the finish line
The final step: Give that Go Live button a triumphant click. You did it! You can always go back and make changes if you want.
✅ Just like that, your website is up and running — and you didn’t have to learn HTML and CSS, get your own SSL certificate or take a course on web design. Now, you must get your site in front of as many people as possible. Start here if you’re new to search engine optimization (SEO).